
 +1-877-790-2297
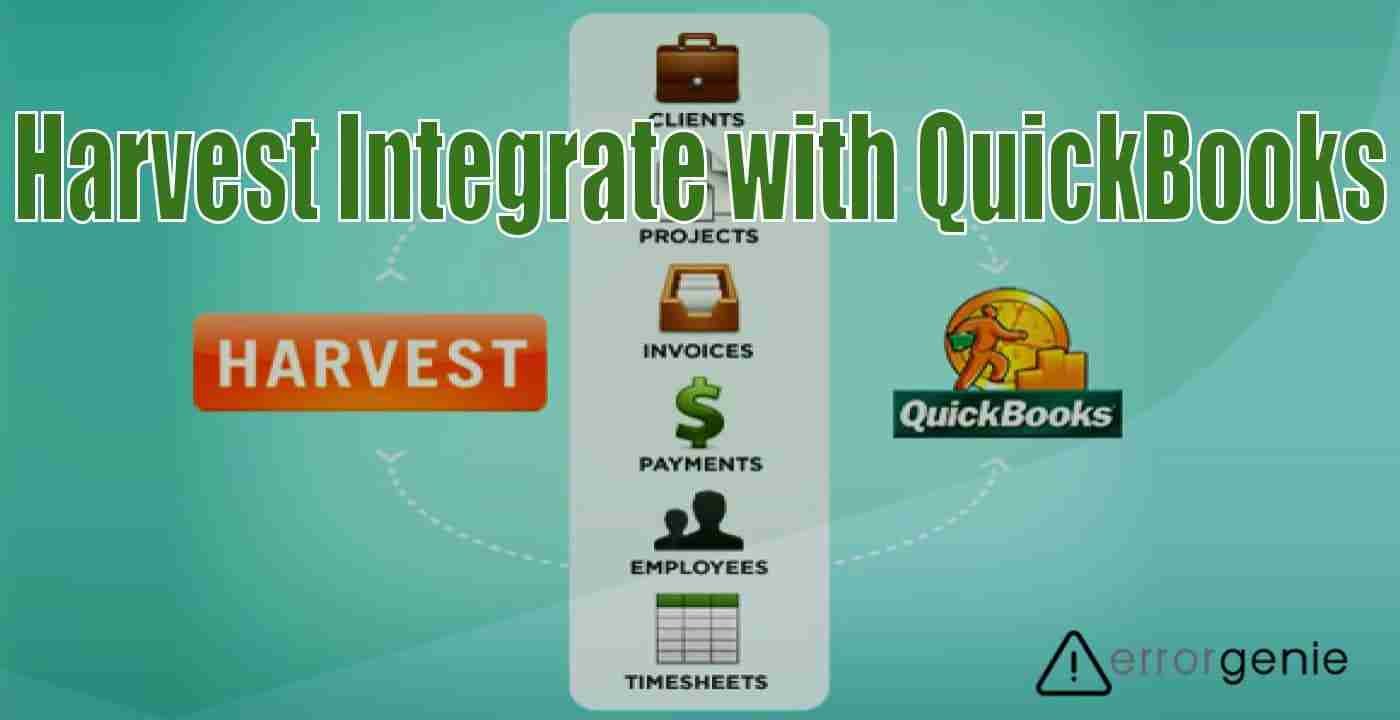
When it comes to entering your data from one system to another, you might want to avoid manual data transfer. That is when you can think of Harvest service. By using the Harvest platform, you can easily manage the books as it copies the data to QuickBooks automatically. As a result, you don’t have to manually add the invoices from Harvest Integration with QuickBooks. Also, when the client proceeds to pay the amount for the Harvest invoice, you can copy this to QuickBooks. But, how does Harvest integrate with QuickBooks Desktop or Online?
This process is easier as you just have to connect and map the Harvest account with the QuickBooks app. By doing so you can copy the Harvest payments and invoices to QuickBooks effortlessly. In case you no longer prefer to use the service, you can remove the integration.
Key Benefits of QuickBooks Harvest Integration
As you integrate other apps with QuickBooks, it makes your business activities easier and boosts accounting functionality. By using Harvest QuickBooks integration, you can take advantage of its numerous benefits. It includes an effortless sync process, time tracker, prevents manual data entry, time-based reports, and more.
- With this integration, you can copy the invoice to your QuickBooks account. In simple words, when you share the Harvest invoice with the clients, it automatically copies the invoices into QuickBooks.
- When your clients pay Harvest Invoice, you will also have the option to copy them to QuickBooks. This will keep your payment in sync effortlessly.
- Harvest is also the best time tracking tool for the team. You can start this timer from desktop, mobile devices, or web browsers and do your task at hand. It does not require any installation.
- Managers can get a clear picture of their project profitability. With time-based reporting, you can get accurate uninvoiced reports, budget reports, and more.
- With streamlined invoicing for bookkeepers and accountants, you don’t need to spend much time re-entering your data and reviewing members. Harvest and QuickBooks Integration will copy the invoices and payment to QuickBooks directly.
Make sure you have the Admin rights and the invoice module feature is enabled in the account. This will help you to link the Harvest account as well as copy the invoice to QuickBooks. Please note that you cannot sync the expense entries and time directly from Harvest to QuickBooks. Moreover, this information will be copied as the line items in the invoices.
Important Note: Users cannot use this integration with free plans for Harvest. In addition, you cannot use Harvest integration in QuickBooks Self Employed (online version).
How Does Harvest Integrate with QuickBooks Desktop?
QuickBooks Desktop users can easily use the Harvest service. All you have to do is open the account settings, go to the integration, and connect the QuickBooks app. Thereafter, you can sync the data from Harvest to QuickBooks. Make sure you prepare your invoices in the Harvest account and then share them with the clients.
- Open the “Account Settings” in Harvest.
- Click on the “Integration”.
- Select the “Connect To QuickBooks” option.
- Here, you need to choose the “Account”.
- Hit the “Save” button.
- Then, prepare the invoice in the “Harvest” account.
- Share this invoice with your client.
When you do so, the invoice will start copying automatically to the QuickBooks account. Even if your client sends payments, they will also be copied to QuickBooks.
How Does Harvest Integrate with QuickBooks Online?
The process of integrating Harvest with QBO might take more time as compared to the desktop version. To integrate Harvest with QuickBooks Online, one has to go through the Harvest Settings, connect the QuickBooks app, and do the remaining formalities.
QuickBooks Harvest integration also requires you to map the data from Harvest to QBO, and copy the Harvest invoices to QBO to complete the integration.
Step 1: Connect Harvest Service with QuickBooks Online
To connect Harvest with QBO, you will have to open the Settings menu in the Harvest account. From here, you can connect and authorize the QB app with Harvest. Thereafter, you can do other formalities such as selecting a default income account. You can also enable or disabled the sub-customers setting as per the requirement.
- Open “Harvest Settings” located on the top right. Remember that only admins can change or view the settings.
- Then scroll down and select the “Integrations” option.
- Click the “Connect to QuickBooks” option. This will take you to “QuickBooks Online”.
- After this, you can sign in to the account and press the “Authorize” button.
- Once you complete these steps, the “Harvest” platform displays.
- Here, you need to select the default “Income Account”. You can choose this if you want your payments to get copied to the “Deposit Account”.
- Then, enable or disable the “Sub-customers” setting and click the “Save” button:
- The income account you selected will be used only if the chosen invoice item types in Harvest are not connected to the income account available in QuickBooks Online.
- The debit account feature includes these QBO account subtypes:
- Checking Inventory
- Undeposited Funds
- Other Current Assets
- The setting of sub-customers lets you prepare Harvest projects as QBO sub-customers.
Step 2: Map the Data from Harvest Account to QuickBooks Online
Once you are done linking both the apps, start mapping the data from Harvest to the QBO account. This requires you to map data for a project, client, issue date, subject, PO number, and invoice item type. Remember the way you map your data will reflect on the integration and deliver results.
- Client -> Customer: When you copy the invoice, the integration tries to match the Harvest Client with the customers in QBO. If the details don’t match perfectly, you will have to create the new “Customer” in QuickBooks Online. Remember that it will only copy the name of the client. Other client details such as address don’t get copied from Harvest to QBO.
- Project -> Sub-customer in the upgraded version of QBO. Here, you will have to disable the setting in Harvest QBO settings that are found in Harvest settings.
- Issue Date -> Invoice Date.
- PO Number -> Message shown on the invoice.
- Subject -> Message shown on the invoice.
- Invoice Item Type -> It becomes products and services.
Step 3: Copy the Harvest Invoices in QuickBooks Online
When you share the invoices to the client available in Harvest, it will automatically copy the invoices to QuickBooks Online. In addition, it will copy the recurring invoices if you have set them to send to the clients. Those invoices that are paid through retainer will be copied automatically in all cases except one case (when your retainer does not cover the whole amount due and also the payment copying is turned off).
There can be instances when the invoice does not copy automatically or you wish to re-copy the invoice before then you can do this manually.
- Click on the “Invoices” section.
- Select the “Overview” option.
- Click the invoice you wish to copy to the QuickBooks account.
- Now, switch to the “Actions” option.
- Here, you can click on the “Copy to QuickBooks” option.
This will successfully copy the invoice to QuickBooks Online. As a sign, you will see the Copied To QuickBooks status next to the invoice title.
Please Note: Users cannot copy the negative invoices and retainers to QuickBooks Online.
Important Information for QuickBooks Harvest Integration
When you perform Harvest and QuickBooks Integration, there are several things you should keep in mind. For instance, copying the invoices, matching the details in both Harvest and QuickBooks Online, reviewing the products & services and item types, and much more. Even if the details mismatch between the product or service and item type then you need to use a default income account.
- Before you copy the invoices, make sure you review the item names in Harvest to the items in the QuickBooks account. If required, you can make changes to match the information on both platforms.
- Following are the details that should match properly in QuickBooks and Harvest. This will successfully copy the invoices from Harvest to QuickBooks Online:
- Sub-Customer or Project Names
- Client Names
- Item Types or Product & Services.
Note: If the details don’t match properly, this will create duplicate items in QuickBooks Online.
- In addition, you can review the product & service items in QuickBooks:
- Go to the “Company” option.
- Select the “Products & Services” option. Here, you can check that the product and services are connected to the appropriate income accounts.
- You will also have to match up the items in QuickBooks with the ones available in Harvest:
- Go to the “Invoices”.
- Select the “Configure” option.
- Click on the “Item Types” option.
- Each item on the Harvest invoice is specified for the Harvest item type. The same item type will map to QBO products and services. It will also determine which income account invoice item you can copy to QBO.
- In case the match is not perfect between the product or service and item type then you will have to use a default income account.
- Go to the “Settings” menu.
- Click on the “Integrations” option.
- Select the “QuickBooks Online” option.
- Now, before you copy the invoice, click on the default tax rate:
- Select the “Invoices” option.
- Click the “Configure” option.
- Choose the “Default Values” option in the “Harvest” account.
At this point, you will see the option for applying the tax rate from QuickBooks Online. As an alternate option, you can choose tax based on the per invoice.
What Else Can You Get in Harvest Integration with QuickBooks Online?
Apart from syncing invoices, there are other activities taking place in Harvest and QuickBooks accounts. It includes tax values, invoice payment settings, deleted invoices, and more. You can perform all these activities to control settings, apply tax rates, tax rates, set the default tax rates, and more.
- Payments: Users can control the settings whether the Harvest invoice payment should be copied to QuickBooks Online.
- Go to the “Settings” menu.
- Click on the “Integrations”.
- Select “QuickBooks” here.
- Tax and discounts: The discounts and tax rates value will also be copied to QuickBooks from Harvest.
- When you create or edit the invoice, select “Apply tax from QuickBooks Online”.
- Also, choose the tax rate you prefer to use. These should be the ones that you have pulled in from QuickBooks Online.
- If required, you can set the default tax rate through the following steps:
- Select the “Invoices” option.
- Click on the “Configure” button.
- Select the “Default Values” option.
- Other Currencies: Some invoices are prepared in other currencies. You can copy them over to the QBO default currency.
- Deleted Invoices: In case you remove an invoice from Harvest, it will remain in the QuickBooks Online if copied already. However, you might find the “View in Harvest” link broken. This also applies only to the condition when you delete the invoice in QBO that remains in Harvest but you cannot view it in QuickBooks Online.
This is how you can apply certain settings or preferences to the Harvest invoices and payments. The integration performs depending on the preferences you set.
How to Import Invoices from Harvest to QuickBooks Self Employed?
As mentioned previously, you can use Harvest integration in QuickBooks Self Employed (online version). However, you want to record the invoices manually. In addition, you can connect your Harvest account to online banking. Doing so, QuickBooks Self Employed starts downloading the recent bank transactions automatically.
To import the invoices from harvest to QuickBooks Self Employed, you can go to the settings, select the bank account, and enter the bank URL. Then, log in to the bank website to connect the app securely.
- Click on the “Settings” option.
- Then, choose the “Bank accounts” option.
- Here, you can add the “URL” of the bank or enter the bank name.
- Once done, hit the “Continue” button.
- Now, you can add the login details that you are using for the bank website.
- Later, you can click on the “Connect Securely” option.
By doing so, you can let QuickBooks categorize the transactions. In case you are not connected to the bank then add the previous transaction manually in QuickBooks Self Employed.
How to Remove Harvest and QuickBooks Integration?
If you no longer prefer to copy the invoices or payments from Harvest to QuickBooks, you can simply disconnect the app. All you have to do is open the Harvest account, go to the settings, choose the integration option, and unlink QuickBooks right from here.
- Open the “Harvest” option.
- Then, select the “Settings” option. Remember that only admins can change or view the settings.
- Then scroll down and select the “Integrations” option.
- Select the “Edit Settings” option located next to QuickBooks.
- Here, you will find the “Unlink QuickBooks” at the end. Click on this link to disconnect Harvest from QuickBooks.
By performing these steps, you can easily delete the QuickBooks app from the Harvest account. Since you have disconnected the connection, the invoices will no longer be copied to QuickBooks.
Winding Up
By connecting Harvest with QuickBooks, you can copy the invoices and payments to the QuickBooks account. Please note that only the users with admin rights can make these changes to Harvest settings. Also, remember that Harvest does not let you access the integration in the free plan.