
 +1-877-790-2297
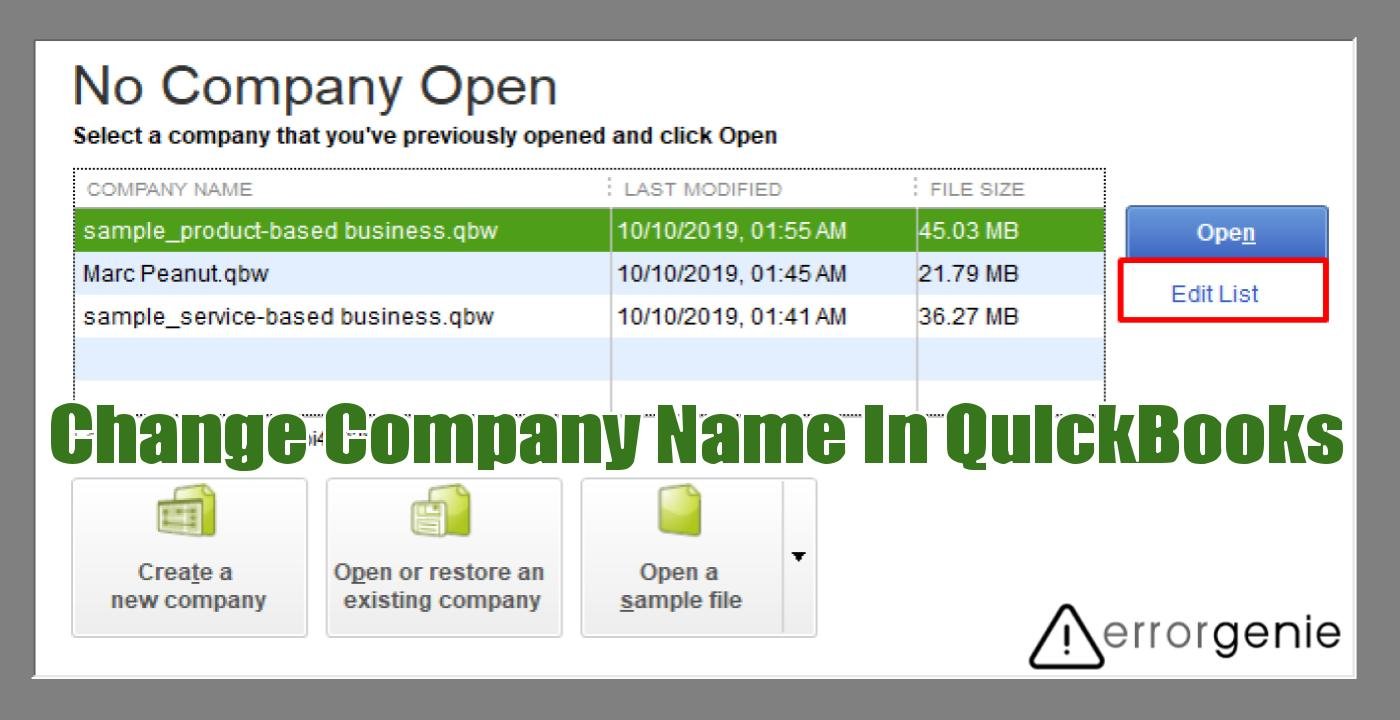
Company name has a vital role in business as it reflects your identity for the service you provide to consumers. The company name is usually created at the time when you set up your business in QuickBooks. However, you might need to update the company name for certain reasons. For instance, you want to replace the name with a new one or due to some spell errors, the company name needs to be modified. To change company name in QuickBooks, the Settings and Company menu will be helpful. However, it depends on which product you are using. The procedure of renaming the company file may vary in QBO, QBDT, and QBSE. Remember that these details are for Windows users.
Why Do You Need to Change Company Name in QuickBooks?
Your clients recognize you through your company name. Detecting any spell errors can leave a bad impression on your clients. Other factors can also be the reason that one wants to rename the company in QuickBooks.
- Users might need to change the company name to correct the incorrect name you added when setting up the company.
- Spell error could also be the reason.
- If the company name was modified, you would also have to reflect these changes in the company file.
- When you condense the file in QuickBooks, you need to change the name so you can easily access the historical data.
Important Note: If you use the Loan Manager service to track or monitor the status of your loans then you need to rename the company file first and then create the Loan Manager again. The purpose of doing so is that the Loan Manager (.lmr) file uses the same name as your company. So, if you are planning to change the name of your company, you also need to recreate the Loan Manager to avoid any errors in QuickBooks.
How to Change Company File Name in QuickBooks Online?
Ensure you are giving equal importance to the name of the company as you give to your business. The company name should be correct as it will be used as a legal name. In addition, when you update the company name, you would also have to update the name in the other locations in QuickBooks Online.
- Company Name: The name should be updated in “Trade Name” or “Doing business as”. By these names, your customers will identify you.
- Legal Name: The name of the company also communicates with the Government. As you update the company name, it will automatically be set as the legal name.
- Email Messages: Your company name shows up on customer emails. Therefore, you should change the company name from here too.
- Location List: You can also update the company name from the location list. However, this step is only applicable to QBO Plus. You can avoid this step if you don’t use the Location Tracking feature.
In case you want to update the company address, email, phone with Intuit, and personal contact email address then you can do that too.
Change Company Name in QuickBooks Online
- Click on the “Gear” button located on the top.
- Here, select the “Account and Settings” or “Company Settings” option.
- Then, click on the “Company” menu located on the left.
- After this, click the “Pencil” icon in the “Company” field.
- Here, you can make changes to the company name.
- In case the legal name of your company is different from the company name then click on the “Add Legal Name” section and make the required changes.
- Click on the “Save” button.
- Press the “Done” button.
Update Email Messages in QuickBooks Online
- Click on the “Gear” button located on the top.
- Here, select the “Account and Settings” or “Company Settings” option.
- Then, click on the “Sales” menu located on the left.
- After this, click the “Pencil” icon in the “Messages” field.
- Now, you can update the details in the “Email Message” field.
- Click the “Save” option.
- Press the “Done” button.
Update the Location List in QuickBooks Online Plus
- Click on the “Gear” button located on the top.
- Then, click on the “All Lists” option.
- After this, click the “Locations” option.
- Here, you can look for the location on which you wish to update the company name.
- Click the “Edit” button using the drop-down option.
- Now, select the checkbox for the company name and enter the new name.
- Click the “Save” button.
Update the Company Address, Email, Phone, and Communication Preferences
- Click on the “Gear” icon.
- Then, select the “Company Settings” option. You can also click on the “Account and Settings” option.
- Click on the “Company” option from the left and do the following:
- Go to the “Contact Info” field, click the “Pencil” button, and edit the contact details as preferred.
- Select the “Address” field, click the “Pencil” icon, and update the company address.
- Now, click on the “Marketing Preference” section and change the way you want Intuit to communicate with you.
- After making the changes, click the “Save” button.
- Click the “Done” button.
Change the Direct Personal Contact Email Address
- Click the “Gear icon” located on the top.
- Now, select the “Manage Users” option.
- Here, you can choose the name and hit the “Edit” button.
- After that, you can mention the changes and click the “Save” button.
Remember that changing the personal email address is only for internal use. It does not modify the email linked with the login. This way you can change the company name and update it in the legal name, email message, and location list in QuickBooks Online.
How to Change Company Name in QuickBooks Desktop?
The name and address of your company are displayed on the checks, printed invoices, and other forms. In addition, the address and legal name show up on tax forms that you file with the Social Security Administration or the Internet Revenue Services (IRS). Therefore, you should update the company name correctly as it reflects your business identity. To change the company name, you can navigate through the Company menu in QuickBooks Desktop, QuickBooks Enterprise, and QuickBooks Self-Employed.
Note: Before proceeding further, one must take a backup of your QuickBooks company file. In case you end up messing up with the data, you can retrieve it from the backup file.
Method 1: Change the Company Name in QuickBooks Enterprise
If you are using QuickBooks Desktop or Enterprise, changing the company name is easy. This can be done through the Company menu.
- In “QuickBooks Desktop”, navigate through the “Company” menu.
- Then, click on the “My Company” option.
- Here, you can click on the “Edit” button located on the top right.
- As you see the “Company Information” screen, you can update the company name and address. Make sure you add the correct details on the “Company Information” page.
- To change the legal name and address of the company, you can go to the “Legal Information” field and add the relevant details.
- Once done, click the “OK” button to save changes.
Method 2: Change the Company Name in QuickBooks Desktop
Another way to change the company name is to rename the company file name from the Product Information page.
- Launch “QuickBooks Desktop” on Windows PC and check the location of the QB company file.
- Then, go to the “Home Page” and press the “Ctrl +1” or “F2” key on your keyboard. This will show you the “Product Information” page.
- Here, you can verify the location in the “File Information” section.
- Once you locate the location, click right on the file.
- Select the “Rename” button.
- At this point, you can change the company name and press the “Enter” key.
- Now, click on the “OK” button to save changes.
Now, whenever you open the file from the Open or Restore an Existing Company window, you can open the renamed company file only.
Method 3: Change the Company Name in QuickBooks Self-Employed
If you are using QuickBooks Self-Employed, you can update the company name by logging in to the Intuit account.
- Open the “Intuit Account” via this link.
- As you see the log-in page, you can enter the credentials.
- Once the account is logged in, go to the “Personal Info” tab.
- Here, you can enter the new company name.
In case your account does not do any payroll then you can cancel the subscription after changing the company name. This can be done through QuickBooks Online.
- Click on the “Gear” button located on the top.
- Here, select the “Account and Settings” option.
- Then, click on the “Company name” menu and change the company name.
- Now, go to the “Billing & Subscription” section and click on the “Cancel Subscription” from QuickBooks Payroll.
- After pursuing the on-screen instructions, click on the “Done” button.
Thereafter, you can log out of your account and log in again to refresh your system. If required, you can change the business name, EIN, and contact information in QuickBooks Online.
What to Do to Remove the Company Name in QuickBooks?
In case you no longer prefer to use the company name, you can remove it directly instead of changing its name.
- Launch the “No Company Open” screen.
- Then, click on the “Edit List” menu.
- Choose the company you want to remove. This can be done through the “Hide” section.
- Select the “OK” button to save changes.
After successfully deleting the company name in QuickBooks, you can refresh the QB account. If required, you can hide multiple companies as well.
To Conclude
For every business owner, it is important to keep the company name correct. If for some reason, you have to modify it, QuickBooks Online lets you do it through the Settings menu. This can also be done in QuickBooks Desktop through the Company menu. If required, you can update other details associated with the company which we have already discussed above.