
 +1-877-790-2297
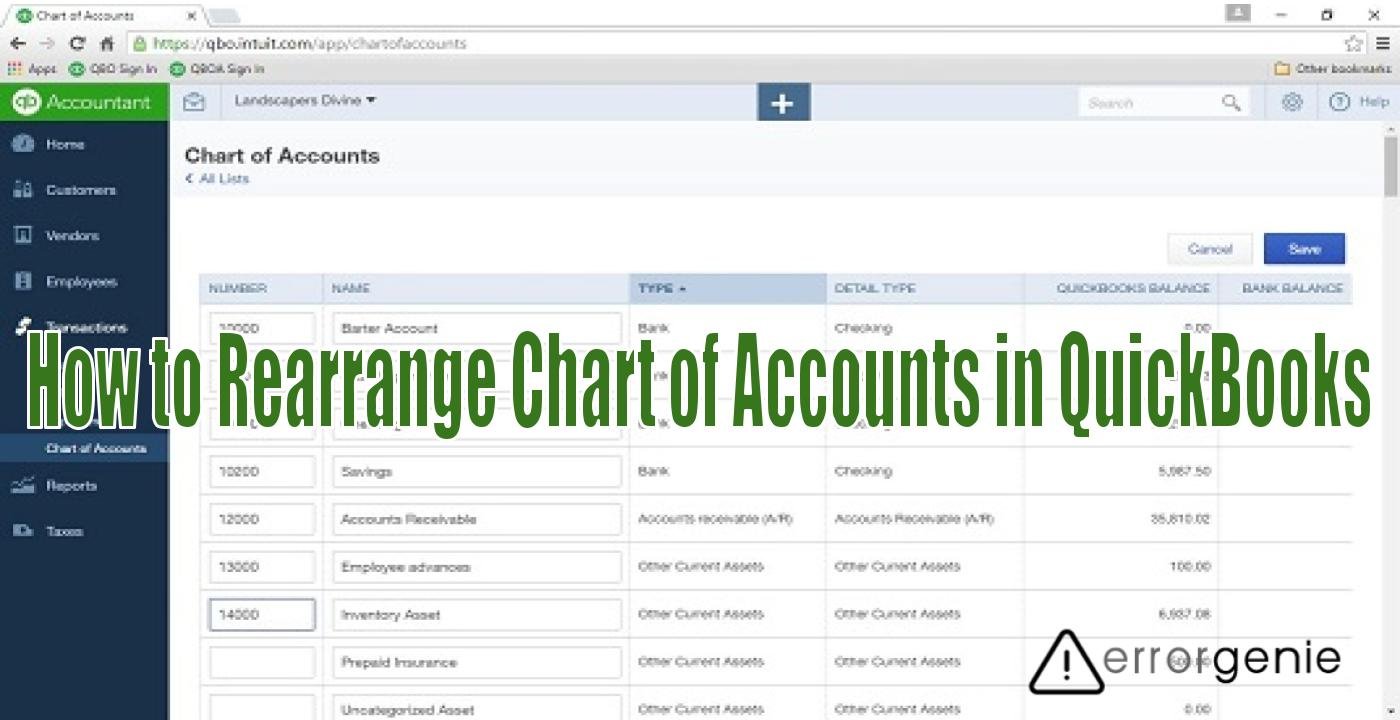
The Charts of Accounts in QuickBooks is basically a list of all the accounts that help in categorizing the transactions from sales forms to tax forms. Each account has important details such as transaction history. These accounts also let you know how much money you owe or have. By default, the Chart of Accounts is sorted by Account Type alphabetically in QuickBooks. There can be occasions when you want to rearrange the Chart of Accounts. However, it might not be possible for users as this option is not available in every QuickBooks version. Therefore, in this guide, we are going to share how to rearrange Chart of Accounts in QuickBooks Online or Desktop using some alternative ways.
What Do You Understand by Chart of Accounts in QuickBooks?
Before getting started with how to rearrange Chart of Accounts in QuickBooks Desktop or Online, we want to highlight important details regarding the QuickBooks accounts. As you open the Chart of Accounts, you will see the list of all the accounts. These accounts are also called account registers because each of the accounts has its own account register. By visiting the account register, you can review the current balance and transaction history.
Generally, Charts of Accounts have different account types so that the transactions can be categorized into Assets, Income, Liabilities, and Expenses accounts. If you want to re-arrange or sort the list of these accounts, QuickBooks makes it possible for you. Continue reading to know more and rearrange the Chart of Accounts in QuickBooks.
How to Rearrange Chart of Accounts in QuickBooks Online?
By default, the Chart of Accounts is sorted by Account Type alphabetically in QuickBooks Online. Although you cannot change the sort order of the Chart of Accounts, you can still change the order depending on how your Chart of Accounts was created and what preferences you have set. Even if you add the number within your account name column, it will sort the list numerically. Later, it will sort alphabetically within every account type.
In the following discussion, we will go through different ways that will help you to sort or rearrange the Chart of Accounts by account number and ascending or descending order. Let’s read how to rearrange Chart of Accounts in QuickBooks Online.
Method 1: Sort the Chart of Accounts by Ascending and Descending Orders
In QuickBooks Online, there is currently no option to rearrange the Chart of Accounts manually. However, you can sort the list of Charts of Accounts in descending and ascending order. So, if you are willing to sort the list of Chart of Accounts in QuickBooks Online, read the following steps:
- Log in to “QuickBooks Online”.
- Then, click on the “Accounting” located on the sidebar.
- Here, you can select the “Chart of Accounts” option.
- When you see the list of accounts, select the following:
- Name
- Type
- Detail Type
- Currency
- Bank Balance
- QuickBooks Balance

- At this point, you can click on the down arrow to arrange the list in descending order. For arranging the list of accounts in ascending order, select the up arrow.
Method 2: Sort the Chart of Accounts by Account Numbers
Users can also sort the list of Charts of Accounts by the account numbers. Please note the account numbers option is disabled by default. Thus, before getting started, you will have to enable the account number so that you can assign the account number to the QuickBooks Chart of Accounts. If required you can view the account numbers as well. Let us show you the whole process in three simple steps:
Enable Account Numbers
- Open on the “Settings” by clicking on the gear icon.
- Then, choose the “Account and Settings” option.
- Switch to the “Advanced” tab.
- Select the “Edit” button from the “Chart of Accounts” area.
- Now, you can click on the “Enable Account Numbers”.
- In case you want these account numbers to display on the transactions and reports then click on the “Show Account Numbers” option as well.
- After that, click the “Save” button.
- Hit the “Done” button.
Assign the Account Numbers
- Click on the “Accounting” menu.
- Then, click on the “Chart of Accounts” option.
- Switch to the “Actions” column and press the “Batch Edit” button.
- Now, you can move to the “Number” column to enter the account numbers.
- Once done, click the “Save” button.
View the Account Numbers
- Navigate to the “Chart of Accounts” menu.
- Then, click on the “Gear” icon from the top in the “Actions” field.
- After that, click on the “Number”.
By changing the order, you can rearrange the list of Chart of Accounts in QuickBooks Online.
How to Rearrange Chart of Accounts in QuickBooks Desktop?
Users can perform a number of alternative methods in order to re-arrange or sort the Chart of Accounts. Here, we will share numerous ways with you that involve manual procedures. Let’s find out how to rearrange Chart of Accounts in QuickBooks Desktop in different ways:
Ways 1: Rearrange the Accounts Manually
The most simple method to re-arrange the accounts is to drag and drop them at the desired location. Have a look at the following steps for more details:
- Click on the “List” menu located on the top menu
- Then, select the “Chart of Accounts” option.
- Press down the diamond icon located near the account name.
- After that, you can move your account to the preferred location.
Ways 2: Re-Sort the List
Users can rearrange the accounts from the list of Chart of Accounts only if they are on the corresponding type. In case you attempt to merge the accounts out of their type, you might confront unexpected errors. Thus, you can only sort the account list. Here are the steps for that:
- Go to the “Lists” menu.
- Then, navigate to the “Chart of Accounts” menu.
- Switch to the “View” tab.
- Click on the “Re-sort List” option.
Ways 3: Rearrange the Chart of Accounts
QuickBooks shows the list of all the bank accounts first and then account receivables accounts. By following these steps, you can easily rearrange the list of Chart of Accounts in QuickBooks Desktop:
- Open the “Chart of Accounts” option in QuickBooks Desktop.
- When you see the list of accounts, select the following:
- Name
- Number
- Account Type
- Detail Type
- Currency
- Bank Balance
- QuickBooks Balance
Ways 4: Arrange the Accounts by Exporting
If the QuickBooks Chart of Accounts is arranged in ascending order by account numbers then it might not match with the sequence of the reports. It should also be noted that when you allow the account numbers, QuickBooks automatically will sort your accounts by account number in the financial reports. Remember that the order is set to ascending by default.
However, if you have arranged the Chart of Accounts differently then you can export your report to the Excel file. This will let you customize the order so it can match with the Chart of Accounts. Find the below steps:
- Click on the “Reports” menu from the left.
- Then, select the “Balance Sheet” or “Profit and Loss” report.
- After this, you can modify the reporting date as well as the accounting method.
- Once done, select the “Export” icon.
- Now, click on the “Export to Excel” option.
- Once done, you can save your file.
This way you can re-arrange or sort the list of Chart of Accounts in QuickBooks Desktop. If required, you can manage these accounts. For instance, you can add, edit, hide or delete the account in QuickBooks as per the business requirements.
To Conclude
The Chart of Accounts is sorted by Account Type alphabetically in QuickBooks. Even in the Desktop version, it is set in ascending order. If you are willing to sort the list of Charts of Accounts, you can do it. Here, we have shared some of the easy methods that will help you to re-sort or re-arrange the Chart of Accounts. We hope you have learned how to rearrange Chart of Accounts in QuickBooks Desktop or Online.
Besides managing the accounts, if you want to delete or export the Chart of Accounts in QuickBooks, read the following guides first: