
 +1-877-790-2297
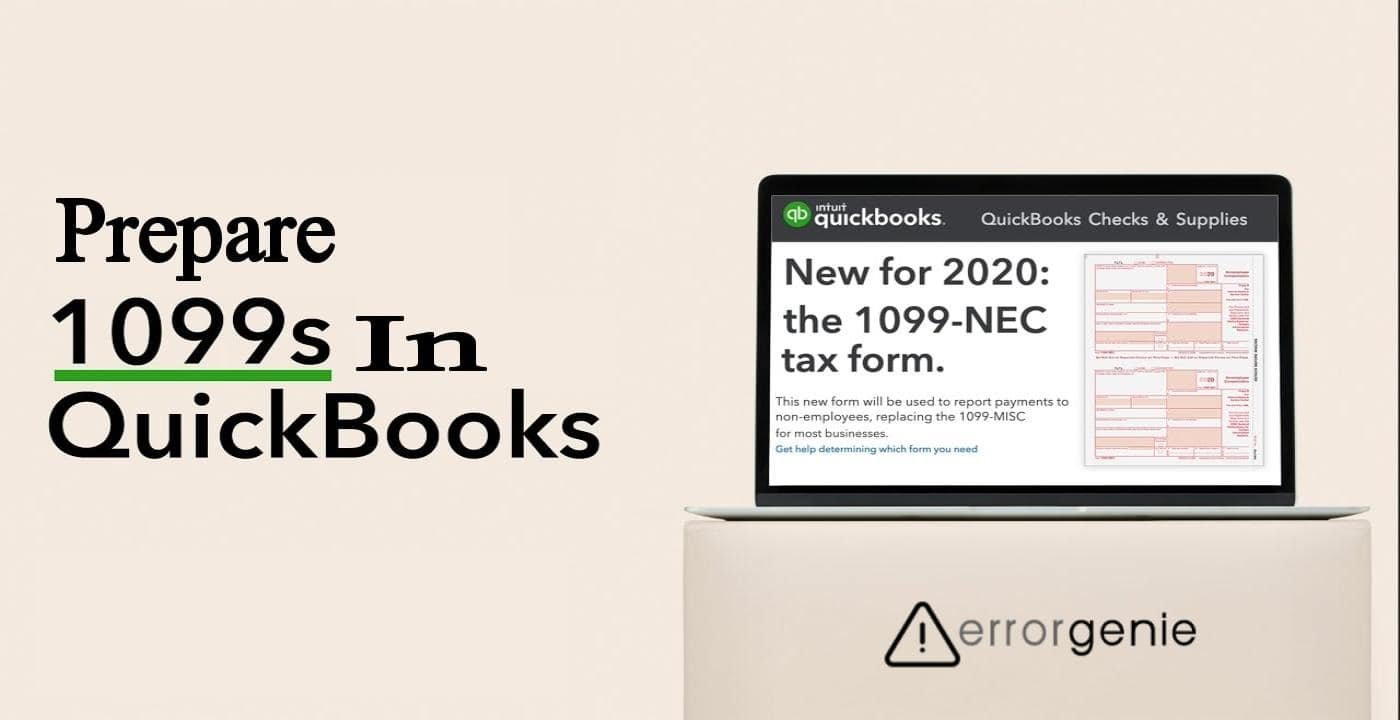
1099s are the tax forms that you have to file with the Internal Revenue Service (IRS) when paying the contractors in cash. Fortunately, QuickBooks lets you prepare the 1099 forms with the help of the details you are having in your account. Moreover, when you file the 1099 form with QuickBooks, they also mail the copy of the printed 1099 to the contractors so that the contractors can use the copy for tax filing. QuickBooks Online 1099 wizard and QuickBooks Enterprise 1099 wizard play a major role here.
If you are willing to prepare and file the 1099s (1099-NEC and 1099-MISC), we will help you to understand the whole procedure. Learn with us how to use 1099 wizard in QuickBooks Online and QuickBooks Desktop.
When Do You Need to Use the QuickBooks 1099 Wizard?
The IRS wants you to file the 1099-NEC form for the non-employee to whom you have paid more than $600 in cash in the prior year or from whom you withheld the federal income tax under backup withholding rules.
Please Note: This should be noted that the IRS does not allow e-payments to report on 1099-NEC or 1099-MISC forms. You don’t have to report the payments that have been made electronically by debit card, credit card, PayPal payments, and gift cards. Even If you do it, QuickBooks will exclude such payments automatically. Also, the companies of these payments will report such payments, thus, you don’t need to report these payments.
In case you have reported any detail previously on Box 7 then this information should be reported on the form 1099-NEC on Box number 1. Remember that 1099 forms are due to the contractors and IRS by the 31st of January. However, it is recommended to fill out the form electronically by the 27th of January at 5 PM PT.
How to Use 1099 Wizard in QuickBooks Online?
Once you understand why and when you should file the 1099 form, you can continue using QuickBooks Online 1099 wizard to file the form. Here, we will show you the entire procedure that includes a series of steps. You will have to set up the 1099 accounts. Then, start creating the 1099 form in QuickBooks Online and file the 1099 form electronically. Later, you can check the filing status. This will help you to know if the IRS has received the form. Let’s understand how to use the QuickBooks 1099 wizard in the online version:
Step 1: Setting Up the 1099 Accounts
In case you want to file both 1099-MISC and 1099-NEC forms then you will have to adjust the contractor payments and account as well. It is already determined by which kinds of boxes you choose for the payments that have been made to the non-employees. Many companies choose “non-employee compensation” for contractor payments. In addition, there is no requirement for adjustment.
On the other hand, if you choose other types of payment for reporting then you will have to perform some accounting tasks to prepare the books.
Step 2: Creating the 1099 Form in QuickBooks Online
Once you are done setting up your QuickBooks Online 1099 accounts, you can create and file the form electronically. If required, you can print the 1099 form as well. All you have to do is make sure that you organize the payments and contractors so the filings are correct.
- Select the “Payroll” option.
- Choose the “Contractors” option.
- Alternatively, you can click on the “Expenses” menu and select the Vendors” option.
- Then, click on the “Prepare 1099s” option.
- Hit the “Let’s get started” button.
- At this stage, you may need to make sure that the address, tax ID, and company name are correct. The details should also match what is found on a letter from the IRS or tax notices.
- Once done, mark the boxes representing the type of payment that has been made to the contractors throughout this year.
- Now, hit the “Next” button. Make sure you select the boxes carefully.
- Then, check that all the contractors are showing up. The personal details and email addresses of the contractors should also be correct.
- Here, you can check the total payment for every box you have selected. The payments will be separated automatically between 1099-MISC and 1099-NEC forms.
Note: You will not see the payments that have been made to the contractors electronically by using credit cards, etc. These payments will be reported by the bank, credit card company, etc. In case you don’t find the expected payments then you need to verify the threshold and year above the column of Name.
- Hit the “Next” option.
- Thereafter, you can select the “E-file for me” or “I’ll file myself” options to file the 1099 form as preferred.
You can also print and email the QuickBooks Online 1099 form. In case you are willing to view what you have paid the contractors then you need to run the 1099 reports. This will show you the valid details.
Step 3: Filing 1099 Form Electronically
When you have prepared the form and verified all the necessary information, you can continue filing the form electronically. Let us help you with detailed steps:
- Click on the “E-File” button after you prepare the 1099 form.
- Then, verify the 1099 form and click the “Continue” button.
- Continue following the instructions given on your screen to finish the 1099 e-filing process.
- You may also be prompted to add the billing information. You can also review the 1099 form of each contractor.
Apart from this, you can check the email address. If any of the information is incorrect, you can update it right here. The Copy A of 1099 from the paper version is for the records. Hence, you should not print or mail this copy to the IRS.
Step 4: Checking the Filing Status
Now that you have filed the QuickBooks Online 1099 form to the IRS, you can check the filing status in QuickBooks Online. Although you will get notified via email, you can still check the filing status manually:
- Open “QuickBooks Online”.
- Then, go to the “Taxes” option.
- After this, select the 1099 filings.
- Here, you can see the e-filing status under the “Filing status”. Here, we are showing different types of status you will find:
- Submitted: If you see this status, it indicates the form you filed electronically is successfully submitted. In case you want to revise it, you have to file the manual amendment for this. Make sure you use IRS instructions & forms for manual amendment.
- Not Submitted: In case you have not filed the 1099-MISC or 1099-NEC forms electronically then you can revise it again.
- Received by IRS: This status indicates that your form has been received by IRS and they have either processed and approved it or are processing it. Customers who already have submitted the form 1099 will get the confirmation via email a week later once the form is accepted and confirmed by the IRS. Remember that you might not get this confirmation until January.
- After that, click the “View 1099” button. This will show a copy of the PDF.
With these instructions, you can easily file the 1099 form using QuickBooks 1099 wizard. All you need to do is to set up the 1099 accounts, create the 1099 form in QuickBooks Online, file the 1099 form electronically, and check the filing status if required.
How to Use 1099 Wizard in QuickBooks Desktop?

QuickBooks Enterprise 1099 wizard will help you to create and file the form electronically. All you have to do is set up the 1099 accounts, update the QuickBooks Desktop, create the 1099 form, import the data into the Tax1099, and file the 1099 form electronically. Later, you can check the filing status. This will help you to know if the IRS has received the form. Let us take you to the step by step guide:
Step 1: Setting Up the 1099 Accounts
There are numerous categories of contractor payments that have been made by you. Many businesses categorize all the contractor payments as nonemployee compensation and thus you don’t have to worry about changing their accounts. In case you have several types of payments to the contractors then you will have to file both 1099-MISC and 1099-NEC forms.
In addition, you will have to adjust the account in order to track such kinds of payments separately. It is already determined by which kinds of boxes you choose for the payments that have been made to the non-employees.
Step 2: Updating the QuickBooks Desktop
To process the 1099-MISC and 1099-NEC forms, you have to make sure that QuickBooks is updated to the latest version. Here, we will show how you can check if your QuickBooks software has the latest release.
- Launch “QuickBooks Desktop”.
- Then, press down the “Ctrl +1” keys or “F2” keys. This will launch the “Product Information” screen.
- Now, you can check the current release and version.
In case you don’t have the latest release, you can download and install the new updates for your software. You can also set up the automatic updates or update QuickBooks manually.
Step 3: Creating the 1099 Forms in QuickBooks Desktop
After you set up your 1099 accounts and update QuickBooks to the latest release, you can create and file the form electronically. If required, you can print the 1099 form as well. Let us guide you on how to get started with the QuickBooks Enterprise 1099 wizard:
- Select the “Vendors” menu.
- Click on the “1099 Forms” option.
- Select the “Print/E-file 1099 Forms”.
- Here, you can take a backup.
- Now, click the “Get Started” button for the form that you wish to create. In case you want to file both 1099-MISC and 1099-NEC forms then repeat the same steps.
- Start picking the vendors for the 1099 form and hit the “Continue” button.
- Here, you can make sure that all the vendor details are correct. If required, you can make changes to make the details correct and press the “Continue” button.
- After that, you can start mapping the vendor payment accounts. For this, you can press the “Apply payment to the 1099 box” drop-down. Then, choose the account to which you wish to link the payment. In case you find the boxes grayed out, this indicates they are already mapped to another form 1099. Remember, you can map the account to only one form 1099.
- Once done, hit the “Continue” button.
- In case you received the prompt that details are not matching then click on the “Show IRS 1099-MISC filing threshold” option. After this, select the “Reset to IRS Thresholds” option.
- Here, you can check the payment details for exclusion. For this, you can click on the “View Excluded Payments” or “View Included Payments” option. This will show you the detailed reports.
- Click the “Continue” button.
- Now, check the amounts and vendors that you are going to report. Once done, click the “Continue” button.
- In case you want to view the vendors who do not meet the threshold of IRS then click on the “View summary report” option.
- Then, select the option to print or e-file the 1099 form.
This way you can create the 1099 form and file it electronically. Remember that the 1099s form can be prepared on Windows as well as Mac devices.
Step 4: Importing the Data into the Tax1099
Once you are done preparing the form 1099 in QuickBooks Desktop, you can choose the E-file option to pursue the instructions. This will start importing the data into the Tax 1099 account.
Step 5: Filing 1099 Form Electronically
Now that you have imported the data into Tax1099, you can view it on the dashboard. It shows the list of amounts, boxes, and vendors. Then, start filling the form 1099 electronically through QuickBooks Desktop:
- Choose the vendor name or click on the “Edit” option to update the box or vendor details. Then, hit the “Update” button.
Important Note: The modifications you make in the Tax1099 do not flow back to the QB company file. If you are using Box 11 on your 1099-MISC then filing the form electronically by using the Tax1099 then the amount will not flow from the QuickBooks Desktop. You will have to add the amount manually in Tax 1099.
- If you want to file a 1099 form with the state then you can enter the details under the dedicated state boxes.
- After this, choose the vendors for which you wish to upload by marking the box. Then, hit the “Next” button.
- Once it is done, choose the vendors again and hit the “Next” button.
- Here, you can choose the vendor but this time by placing the checkmark for the “Date” field. Also, decide how you would like to send copies to the vendors or recipients. For this, you will have to choose “Download Multiple PDFs”. Remember if you select USPS Mail, an extra fee will be charged.
- In case you wish to file with the state, then you can click the “Next” button or click “Calculate Tax1099.com Fee” to view the total filing fee.
- Once completed with all the options on a “Select Forms” screen, you will see the “Payment” screen.
- Here, you can add the payment details and hit “Pay & Submit” to fill out the form.
These steps would help you to submit the form successfully in QuickBooks Desktop. In case you want to create both 1099-MISC and 1099-NEC then follow the same steps.
Step 6: Checking the Filing Status
Now that you have filed the 1099 form to the IRS, you can check the filing status in QuickBooks Desktop. Although you will get notified via email, you can still check the filing status manually
By following this series of steps, you can easily create and file the 1099 form using the QuickBooks 1099 wizard.
Final Verdict
QuickBooks has a time-saving option to help you with preparing 1099s forms with the information you have in the account. QuickBooks Online 1099 wizard and QuickBooks Enterprise 1099 wizard will help you to create and file the form electronically. Here, we have shown you the entire procedure. Hope this will help you.
If you are willing to update to tax rate or print the W3 for in QuickBooks, we have prepared dedicated guides for you:
- How to Change Tax Rate in QuickBooks?
- How to Print W3 in QuickBooks Desktop?