
 +1-877-790-2297
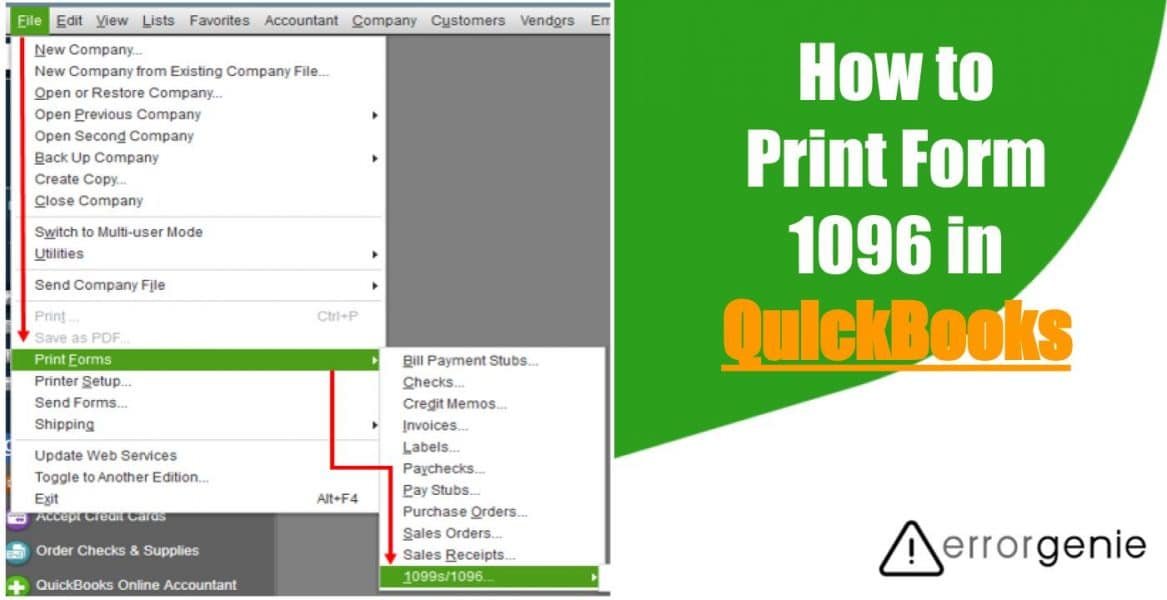
Form 1096 is formally named as Annual Summary and Transmittal of U.S. Information Returns. This form is filed to submit the details for reporting non-employee compensation to the Internal Revenue Service (IRS). Although small business owners will still need to submit Form 1099 because Form 1096 can only be used for the paper submission to IRS. In case you filed the 1099 form electronically and don’t see the form 1096, you can get a physical copy by taking a print. For more insights, you can learn here how to print form 1096 in QuickBooks Desktop and QuickBooks Online.
How to Print 1096 Form in QuickBooks Online?
Form 1096 summarizes all the details from the form 1099 you submit for a tax year. If you have submitted the 1096 forms manually then you can go through the following steps to get the print in QuickBooks Online:
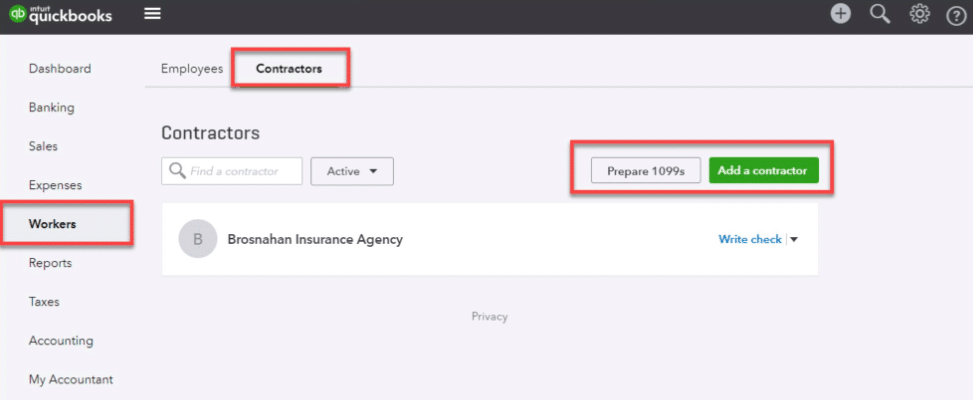
- Go to the “Expenses” menu located on the left.
- Then, choose the “Vendors” menu.
- Here, you can click on the “Prepare 1099s in QuickBooks” button.
- At this point, you can mention all the details for a tax year.
- Once done, click on the “Print and mail” option.
- Now, select the 1096 form.
- When everything looks great, you can click on the “Yes, looks good!” and choose the “Print on a 1096 Form” option.
- If it requires to align the form, you can click on the “No, it doesn’t line up” option. After that, you can fix the alignment and choose the “1096 form” again.
- Once done, click on the “Print on a 1096 Form” option.
By following these steps, you can print QuickBooks 1096 form very easily. Similarly, you can take print of form 1099 if required.
How to Print Form 1096 in QuickBooks Desktop?
QuickBooks Desktop users can also print 1096 forms. But before proceeding further, you need to switch to the single-user mode. If you submitted your forms to IRS, continue following these steps:
- First of all, verify the details of the form.
- Then, select the filing method and click on the “Print 1099s” option.
- Now, confirm the action and click the “OK” button to proceed.
- Once done, you can choose a date range and press the “OK” button.
- Here, you can choose the form and click on the “Print” option.
- You can even click on the “Preview 1099” to check the form alignment. To align your form, pursue the following steps:
- Go to the “File” menu.
- Click on the “Printer Setup” option.
- Close the window from the “Form Name” list.
- Press the “Align” option and adjust the alignment as required.
- Click the “OK” button to save the changes.
- Once done, you can select the form and click on the “Print 1099” form.
- Then, select the “Print 1096” option.
As you perform these steps, you can easily print the 1096 forms in QuickBooks Desktop. This will also help you to print the 1099 form.
How to Print the Previous Year’s QuickBooks 1096 Form?
If you are willing to print the QuickBooks 1096 form of the previous years, QuickBooks makes it possible for you. All you have go through the following steps:
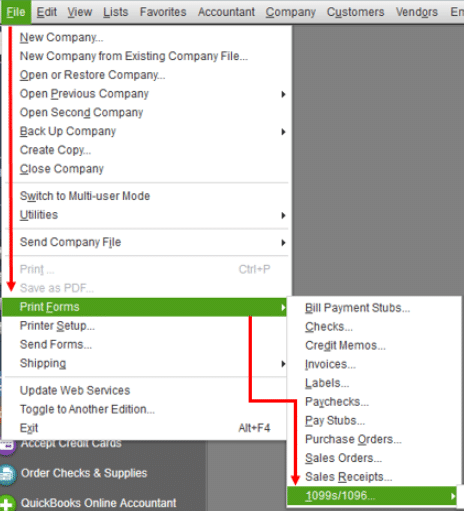
- Click on the “File” menu.
- Then, select the “Print Forms” option.
- Click on the “1096” option.
- When the wizard opens, click on the “Get Started”.
- Choose the “1099 vendors” option and click on the “Continue” option.
- Thereafter, you can verify the 1099 vendor’s details and press the “Continue” button.
- Once done, you can start mapping the accounts.
- Then, edit the thresholds if required and press the “Continue” button.
- Here, you can review your payments for exclusions.
- Then, hit the “Continue” button.
- Once the adjustments are done, make sure you confirm the “1099” entries. If the entries are correct, click the “Continue” button.
- Go to the “Choose a filing method” window and click on the “Print 1099s” button.
- At this point, you can mention the date range for your form and click “OK”.
- Here, you can choose all the vendors for whom you want to print the 1096 form.
- Then, hit the “Print 1096” option.
- After that, you can confirm the printer setting and hit the “Print” button.
This is how you can print the form 1096 of the prior years on Windows. In case you use QuickBooks for Mac then you can also take prints in that.
To Sum Up
Every year different types of forms are submitted by taxpayers. To get a copy of a particular form, QuickBooks allows you to take prints of 1096 or1099 forms. If you have filed 1099 or 1096 forms, you can print them. Here, we have shown you how to print form 1096 in QuickBooks Desktop and QuickBooks Online. Follow this guide and print your form effortlessly with QuickBooks.
If you want to print 1099 in different versions of QuickBooks or clear print queue, check out the following guides:
- How to Print 1099 in QuickBooks?
- How Do I Delete a Print Queue in QuickBooks?