
 +1-877-790-2297
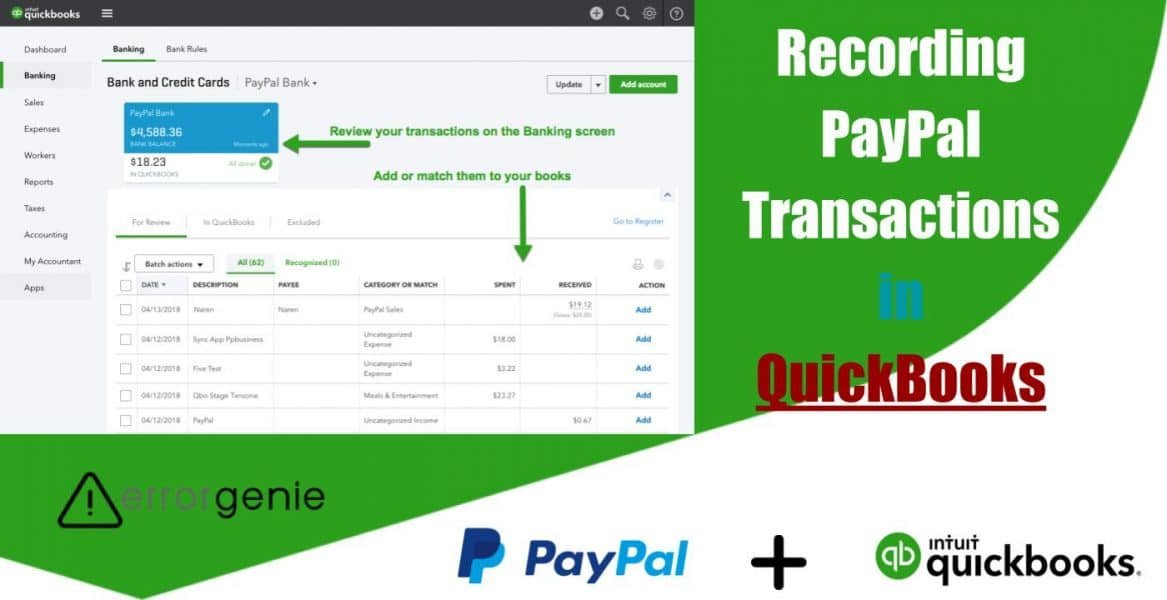
QuickBooks plays a vital role in handling your transaction records. It even helps you to record PayPal transactions. As is well known, users often rely on PayPal to make transactions online, as it is a trusted platform to transfer money via the internet. By recording PayPal transactions in QuickBooks, you can view PayPal transaction history within your accounting software. As a result, it becomes easy for you to track PayPal transactions.
However, there is no direct option to record the PayPal transaction within QuickBooks. All you can do is to download the transaction from your PayPal account and open the downloaded file into QuickBooks. For this import procedure, IIF and CSV file formats can be used. Let’s get more insights on how to record PayPal transactions in QuickBooks Desktop, QuickBooks Pro, and QuickBooks Online.
How to Record PayPal Transactions in QuickBooks?
Before recording PayPal transactions in QuickBooks, one has to set up the QuickBooks account to import from the PayPal account. For instance, you will have to prepare the following account types with specific names:
- Create a “Bank account” in your QuickBooks and name it as “PayPal Account”. This will allow you to track online transactions. In addition, you can keep a track of business activities with all your transactions for the bank accounts.
- Then, prepare the “Expense” account and name it as “PayPal Fees”. This account will keep the expenses.
- Also, create the “Income” account with the “PayPal Sales” name. It will save sales.
Once you are done preparing the required account with certain names, you can continue recording PayPal transactions in QuickBooks.
To record the PayPal transaction, you can use Intuit Interchange Format (IIF) or CSV file formats in QuickBooks Desktop. Whereas QuickBooks Online and QuickBooks Pro require you to connect the app so that your PayPal transaction can sync with your QuickBooks account. Continue reading to know more.
How to Record PayPal Transactions in QuickBooks Desktop?
If you are using QuickBooks Desktop, you will have to download history from your PayPal account. If required you can select the date range for downloading the data. Make sure you choose the IIF format while saving the history. Thereafter, you can open the downloaded IIF file into QuickBooks. This is the most convenient way to record PayPal transactions in QuickBooks Desktop. Let’s have a look at the detailed steps:
- To get started, open your “PayPal” account by logging in to it.
- Then, switch to the “My Account” tab.
- After that, select the “History” option.
- Here, you need to click on the “Download History Now” option.
- Also, choose the date range so that the history can be downloaded for a selected time period.
- Now, choose the “QuickBooks .iif file” from the “File Types” section.
- Select the “Download History” option.
- At this point, you need to add the account names if prompted. Also, make sure that the account name is the same as it shows in the “Chart of Accounts”. Following are the accounts for which you will have to add the names:
- Add the name for “PayPal Account”.
- Name for “Other Expenses Account”.
- Remember the expense account you are using should not be a sub-account of some other expense account because when it imports into QuickBooks, it will also be converted into the bank account.
- If the PayPal transaction pays the balances for Accounts Payable then you can add the name of the “Payable Account”. Remember the vendor’s names in “PayPal” should match with the names available in QuickBooks.
- Add the name for “Other Income Account”:
- Please note the income account you are using should not be a sub-account of some other income account because when it deposits into QuickBooks, it will also be converted into the bank account.
- If the PayPal transaction pays the balances for Accounts Receivables then you can add the name of the “Account Receivables”. Remember the customer’s names in “PayPal” should match with the names available in QuickBooks.
Note: Make sure you fill all the boxes otherwise you will see the message that prompts you to complete the fields to access the file.
- After performing these steps, you will have to save the “IIF file” on the desktop.
- The next step is to open “QuickBooks Desktop”.
- Click on the “File” menu.
- Choose the “Utilities” option.
- Click on the “Import” button.
- Select the “IIF Files” option.
- Once done, open the “IIF File” you saved earlier on the desktop.
- Now, click the “Open” option.
After performing these steps, you will have to save the IIF file in QuickBooks. As you complete following these steps, you will receive the confirmation messages for successfully importing the PayPal transactions into QuickBooks.
Tip: You can also download the PayPal history into CSV file format. Thereafter, you can open the downloaded CSV file into QuickBooks to view the PayPal transaction record. All you have to do is sign in to your PayPal account -> My Account -> History -> Downloaded History -> select the Date Range -> choose the File Type (CSV) to download the transaction history.
How to Record PayPal Transactions in QuickBooks Online?
To record PayPal transactions, one has to install the Connect to PayPal app. This will automatically import the PayPal transactions in QuickBooks Online.
- Log in to “QuickBooks Online”.
- Then, click on the “Apps” option.
- Select the “Connect to PayPal” option.
- Click on the “Get app now” button.
- Then, mark the options for the appropriate file.
- Hit the “Install” button.
- Now, click on “Let’s do it” and select the “Give Permission” button.
- At this stage, you will have to add the email address linked with the “PayPal” account.
- Press the “Next” option.
- After that, log in to the “PayPal” account.
- Then, click the “Agree and Connect” in order to authorize the sync.
- When the connection is successfully established, return to the “Intuit” account.
- After this, click on the “PayPal Bank” where you will see all the PayPal transactions.
- Then, click “Next”.
- Here, select the sales tax rate. It will be applied to the imported sales transactions.
- Click the “Next” button.
- In case you have the historical transactions, select the date from which you want to start the import.
- Press the “Done” button.
By performing these steps, you can easily record the PayPal transactions into QuickBooks Online. Remember that users can import the historical transaction for up to 18 months. In addition, you can edit, match, and categorize the transactions from the Banking tab once the app is connected.
How to Record PayPal Transactions in QuickBooks Pro?
For recording PayPal transactions in QuickBooks Pro, you need to connect the app so that your PayPal details can sync with QuickBooks. For better information, you can go through the following steps stated below:
- Launch “QuickBooks Pro” on your computer.
- Then, click on the “Apps” tab located on the bottom left.
- Now, select the “Sync with PayPal” option.
- When you see a new window, select the “Get the app” button. This will allow QuickBooks to open the “PayPal” account.
- At this point, you need to give permission to Paypal to get connected with QuickBooks. This can be done by logging into the “PayPal” account. Thereafter, you can authorize “PayPal”.
- Now, click the “OK” button to finish the steps for syncing data in QuickBooks.
- After this, you need to set up a QuickBooks account for PayPal. This should be done by using PayPal details.
- Once you complete the steps, click the “Done” button to confirm the action.
This way you can record PayPal transactions in QuickBooks Pro. After doing so, you won’t need to update the PayPal transactions manually as this will happen automatically.
Important Things to Read
For recording PayPal transactions in QuickBooks, you will need to perform the import method or connect the app to sync PayPal transactions with QuickBooks. However, there are a number of transactions that you cannot import. These are as follows:
- Partially refunded
- Canceled
- Pending
- Paid
- Refunded
- Removed
- Withdraw funds to the bank account
- Add funds from the bank account
- Canceled fee
- Refund
- Canceled transfer
These are the particular transactions that cannot be imported into QuickBooks. However, the allowed transactions can be easily imported using IIF/CSV formats or you can use the connector app.
Important Note: Some transaction files are large in size due to which you fail to download the transaction history. In such a situation, PayPal can send you the email from where you can download the transaction history.
Winding Up
Recording PayPal transactions in QuickBooks is essential if you want to keep a track of your online transactions. If you are using QuickBooks Desktop, you can download the transaction history from PayPal in IIF or CSV format and then open it in QuickBooks. On the other hand, QuickBooks Online and QuickBooks Pro users can add the app to sync the PayPal transactions. For better understanding, we have already explained how to record PayPal transactions in QuickBooks Online, Pro, and Desktop versions for you.
If you are planning to record credit card or journal entry in QuickBooks, the followings guides may help you: