
 +1-877-790-2297
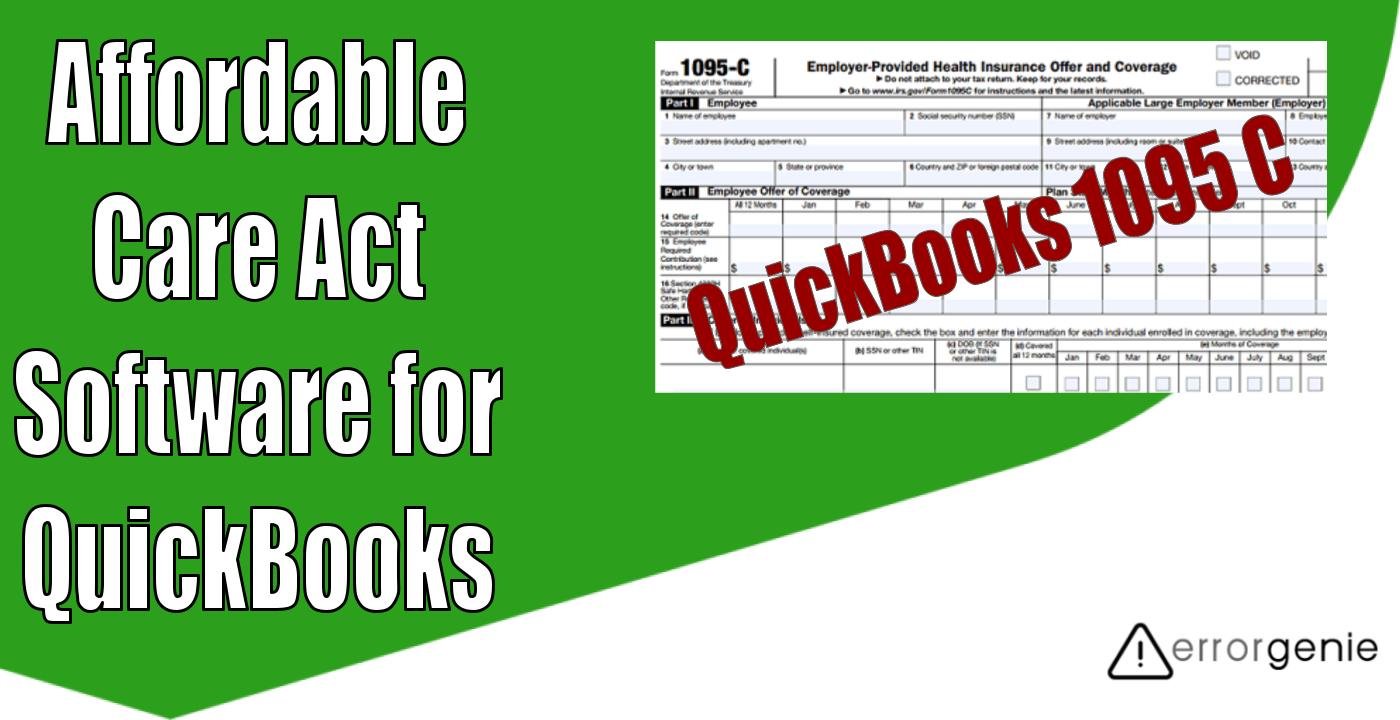
The Affordable Care Act requires certain businesses to offer medical coverage to their full time representatives and the adherents. Such businesses should send proclamations annually to all the representatives who are qualified for the coverage portraying insurance that is accessible to them. In such scenarios, IRS form 1095 C can be used. Through this guide, we will explain a number of details regarding the QuickBooks 1095 C form.
It includes employer mandates, 1095-C forms, and the procedure of determining the ALE and employee status. Besides that, we will talk about how to use 1095 C software for QuickBooks and how to get employee details by using different Intuit Payrolls services.
What Do You Understand By Employer Mandates?
According to the ObamaCare or Affordable Care Act, employers with up to 50 full time representatives and adherents are considered for the Applicable Large Employers (ALEs). However, Applicable Large Employers have to comply with certain mandates which are as follows:
- Offer the insurance to the full time employees (qualified) and the dependents. They are also known as an Employer Shared Responsibility Payment Mandate.
- Inform to the Internal Revenue Service on insurance coverage provided (or not) to the eligible full time employees. They are also called Employer Information Reporting Mandate.
This should be noted that these details are reported by filling the QuickBooks form 1095 C or 1094 C. Also, employers with less than fifty full time representatives and adherents are not subjected to such mandates.
Please Note: All the employers who offer self-insured health coverage should file information returns for the covered individuals.
How to Determine the ALE Status?
Every year, as an owner, you determine the ALE status based on the employee (current-year) details for the upcoming year. For instance, if you have fifty employees including the full time adherents in 2020 then you will be considered the ALE for the next year 2021.
For determining the ALE status, one has to account the service hours for the whole workforce. It includes part time workers, full time workers, and seasonal workers. If you are having fifty full time employees or a mixture of part time and full time employees that cross fifty employees in total then you are also considered the ALE.
How to Determine the Employee Status?
To determine the workforce size, employers are suggested to follow the measurement by month so they can recognize what all full time workers are qualifying for the health care facility. Employers can also count the service hours of the employee for every month of the present year. Following are the details defined by IRS:
- Service Hours: It includes every hour for which the wroker is paid.
- Full-time Workers: Employees who are working for an average hours (30 hours) every week for up to 130 hours per month or 120 days in one year.
- Full-time Equivalent: Workers who are not full time workers and work less than 120 hours per month and 30 hours per week are considered as the equivalent of the full time employee.
- Seasonal Employee: Employees who work at least 120 days throughout the year are considered the seasonal employees.
This should be noted that the seasonal employees are counted only when you determine the total number of full time workers. However, if the workforce goes up to fifty full time employees which also includes the equivalents for 120 or less during the year, and if those employees were working during the time of fewer than 120 days then they will not be considered for ALE.
Learn About QuickBooks 1095 C Form
ALEs are required to issue 1095-C form, Employer-Provided Health Insurance Offer & Coverage from 31st of January to 2nd March to the full time employees. QuickBooks 1095 C form reports on the particular coverage provided by the ALE. If you are planning to file more than 250 1095-C forms then you should electronically file them with the IRS.
Important Note: Since the details of the benefits and HR needed to fill these forms, Intuit does not support these forms.
1095 C Software for QuickBooks
To file 1095 C form, you can use the Affordable Care Act software applications. Such software can help you to submit the QuickBooks 1095 C form electronically. Since the new Affordable Care Act forms 1095- C is not supported by different versions of Intuit QuickBooks, you will need to choose the 1095 C software that is compatible with QuickBooks.
Those companies that offer forms-only software will provide a dashboard where you can enter the data of your employees. It may also have a separate page for the employee data import. If required, you can print the form or provide the electronic submission service with additional cost using 1095 C software for QuickBooks.
By using software for filing QuickBooks form 1095 C, you can simply import the data that is exported from QuickBooks. Thereafter, you can create these forms electronically or on paper.
Remember:- The form 1095 C can get sent to both the employee and the IRS. Whereas the 1094-C form can only get sent to the IRS.
How to Use 1095 C Software for QuickBooks?
With 1095 C software for QuickBooks, you can import the employee data and it also allows you to set defaults for the data that do not even exist in QuickBooks. If required, you can manually import from the spreadsheet any data required to prepare a 1095-C form. Here are the complete steps for the same:
Step 1: Export Employee Details from QuickBooks
- First of all, export the employee details from your QUickBooks account. You can use the “Employee Contact List” for this.
- To do so, you can click on the “Reports” menu.
- Then, select the “Employees & Payroll” option.
- Click on the “Employee Contact List” option.
- When the report is created, you can export it in CSV format.
Step 2: Import the Employee Details in 1095 C Software Compatible with QuickBooks
- Launch the 1095 C software.
- Then, click on the “Import” button usually located on the top.
- Now, open the file you exported from the QuickBooks account.
- After this, you can easily import the employee data. Here, you will have enough details about employees for preparing the 1095 C form.
- If required, you can manually type the details or import the Covered Individual list from the spreadsheet. To type the details manually, you will have to create the following columns:
- Employee SSN
- Covered Individual First Name
- Covered Individual Last Name
- Covered Individual First SSN
- Once done, you can review the details.
- When everything seems fine, you can take a print of 1095 C form and email it to your employees. You can create the PDF forms as well to email to the employees.
- After that, print one more 1095-C form and email it to the IRS.
In case you are filing the form electronically then use the software to generate the XML file and upload it to the IRS AIR system.
How Does Intuit Payroll Service Assist You?
To check your ALE status, it is important to determine your full time employees and equivalents. You can also find the payroll details such as service hour reports and employee contact details from the payroll account. All you have to do is choose the section for the Intuit Payroll Service and check the steps for complete information.
In the following discussion, we will show you how you can run certain reports to find out the service hours and contact information of your employees. Follow the steps based on the payroll service you are using:
QuickBooks Online Payroll
If you are using QuickBooks Online Payroll, you can follow this information to find out the contact details, social security numbers, and total hours of employee’s service by month.
Check the Contact Details and Social Security Numbers
- Go to the “Reports” tab.
- Then, choose the “All Reports” option.
- Click on the “Manage Payroll” option.
- Choose the “Employee Details” option.
- Now, you can save the local copy of the report. For this, you can select the “Export to Excel” or “Printer Friendly” by using the “Share” drop-down option.
Check the Total Service Hours of Employees by Month
- Click on the “Reports” tab.
- Then, click on the “All Reports” option.
- Choose the “Manage Payroll” option.
- Press the “Payroll Summary” button.
- Select the “Custom” option from the drop-down menu of “Date Range”.
- After this, you can add the date range. It should include the pay date along with the pay periods ranging the whole month.
- Press the “Run Report” button.
The column of total hours shows the total service hours for every employee who worked in this month. Remember it also includes their overtime hours.
QuickBooks Desktop Payroll Assisted
QuickBooks Desktop Payroll Assisted users can run the report to check the contact details, social security numbers, and total hours of employee’s service by month.
Check the Contact Details and Social Security Numbers
- Click on the “Reports” tab.
- Then, choose the “Employees & Payroll” option.
- Select the “Employee Contact List” option.
- Choose the “Customize Report” button.
- From the “Display” tab, you can choose the options to add additional criteria to your report.
- Press the “OK” button.
- Now, you can save or print the report. For this, you can go to the “File” menu and click on the “Save as PDF” or “Print Report” option.
Check the Total Service Hours of Employees by Month
- Navigate to the “Report” menu.
- Then, click on the “Employees & Payroll” option.
- Open the “Payroll Summary”.
- Once done, run the report for a particular date range. All you have to do is modify the dates on your report and click the “Refresh” button.
- Go to the “Columns” section.
- Choose the “Employees” and filter the report. This will show all the employees. You can also click on the “Total only” option. This will show the “Totals” column only.
- After this, click on the “Customize Report”.
- Go to the “Display” or “Filters” tab and choose the options to add additional criteria to your report.
- Press the “OK” button.
- Now, you can save or print the report. For this, you can go to the “File” menu and click on the “Save as PDF” or “Print Report” option.
The total hour’s column shows the total service hours for every employee who worked in this month including the overtime hours.
QuickBooks Desktop Payroll Standard, Enhanced, and Basic
In QuickBooks Desktop Payroll Basic, Standard, and Enhanced version, you can easily check the contact information by running the report. In addition, you can find out the social security numbers and total hours of employee’s service by month.
Check the Contact Details and Social Security Numbers
- Switch to the “Reports” tab.
- Then, click on the “Employees & Payroll” option.
- Open the “Employee Contact List”.
- Click on the “Customize Report” button.
- Click on the “Display” tab.
- Choose the “Column” button to include.
- Click the “OK” button.
Check the Total Service Hours of Employees by Month
- Open the “Report” menu.
- Then, click on the “Employees & Payroll” option.
- Click on the “Payroll Summary”.
- By using the “Date Range” drop-down option, choose the “Custom” option.
- Add the date range. Make sure it includes the pay dates along with the pay periods for the whole month.
- To filter your report, click on the “Employees” menu from the “Columns” field. This will show all the employees.
- Press the “OK” button.
- Now, you can save or print the report. For this, you can go to the “File” menu and click on the “Save as PDF” or “Print Report” option.
The column of total hours shows the total service hours for every employee who worked in this month. Remember it also includes their overtime hours.
Intuit Full Service Payroll
Intuit Full Service Payroll users can easily check the contact information, the social security numbers, and total hours of employee’s service by month or particular date range.
Check the Contact Details and Social Security Numbers
- Open the “Reports” tab.
- Then, click on the “Employee Details” option.
- Choose the following options by using the drop-down option:
- Active
- Inactive
- All Employees
- To print your report, click on the “Printer-Friendly Version” and hit the “Print” button. Alternatively, you can choose the “Adobe PDF” option as the printing option. This will save your report in PDF format.
Check the Total Service Hours of Employees by Month
- Go to the “Report” menu.
- Then, choose the “Payroll Details” option.
- From the “Date Range” drop-down option, click on the “Custom” option.
- Add the time spanning the whole month.
- Click in the “Summary by Employee” option from the “Employee” section
- Press the “Update Report” option.
The column of total hours shows the total service hours for every employee who worked in this month or in a particular date range which includes their overtime hours.
Intuit Online Payroll
By running the report, you can view the contact information, the social security numbers and total hours of employee’s service by month in Intuit Online Payroll.
Check the Contact Details and Social Security Numbers
- Click on the “Reports” tab.
- Then, choose the “Employee Details” option from the “Employee Reports” section.
- To print your report, click on the “Printer-Friendly Version” option or “View in Excel” option.
Check the Total Service Hours of Employees by Month
- Click on the “Report” menu.
- Then, choose the “Payroll Summary” option from the “Employee Reports” option.
- From the “Date Range” drop-down option, add the date range. It should also include pay dates along with the pay periods spanning the entire month.
- Click on the “Update Report” option.
The column of hours shows the total service hours for every employee who worked in this month which includes their overtime hours as well.
Please Note: If the pay period extends a 2 month period then you should refer to the time tracking system for more accuracy in reports for the hours worked.
Endnote
If you, as an owner, are considered for the ALE under the ACA act, you should file the QuickBooks 1095 C form. Here, we have explained how you should determine the employer mandates, ALE status, and get details of employees to file the 1095 C form electronically.
Those who are planning to record deposits or merge classes in QuickBooks can go through the following guides:
- How to Merge Classes in QuickBooks?
- How to Record Deposits in QuickBooks Online?